 Loam & Leaf
Protect young tomato stems from fungal decay during early germination. Adjust airflow and surface moisture to keep seedlings upright.
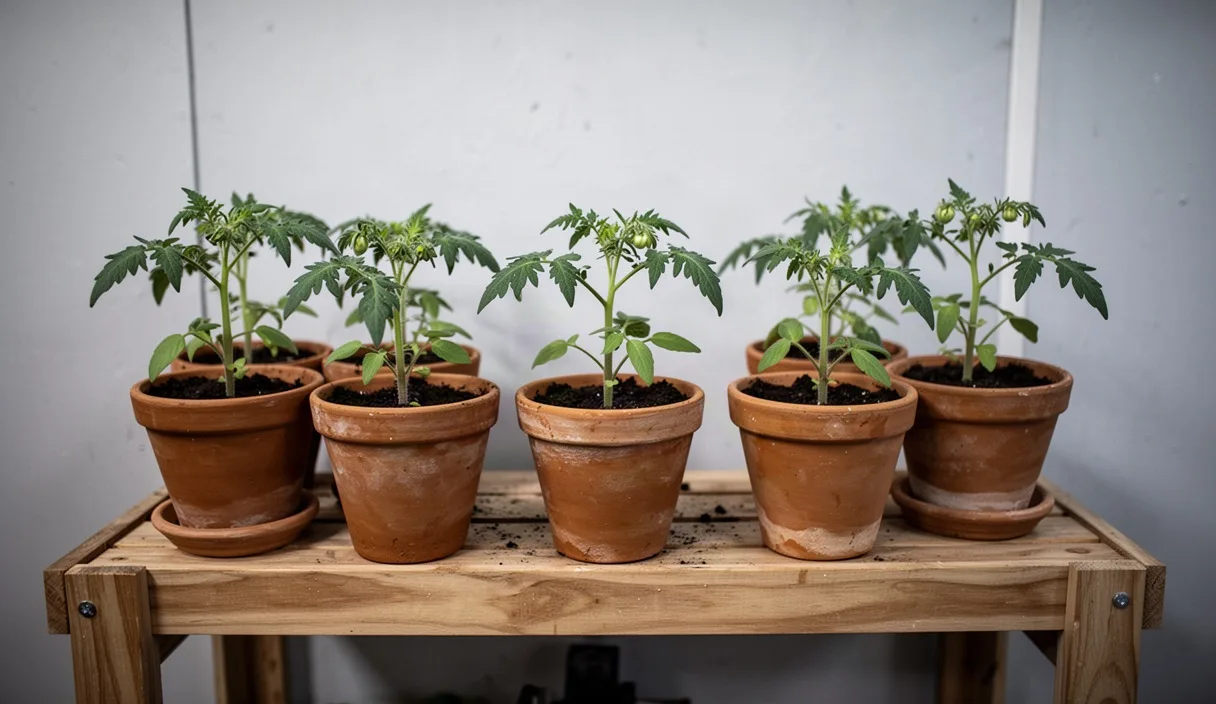

- Air circulation reduces surface fungal spores.
- Sterile potting media protects delicate young roots.
- Bottom watering keeps the soil surface dry.
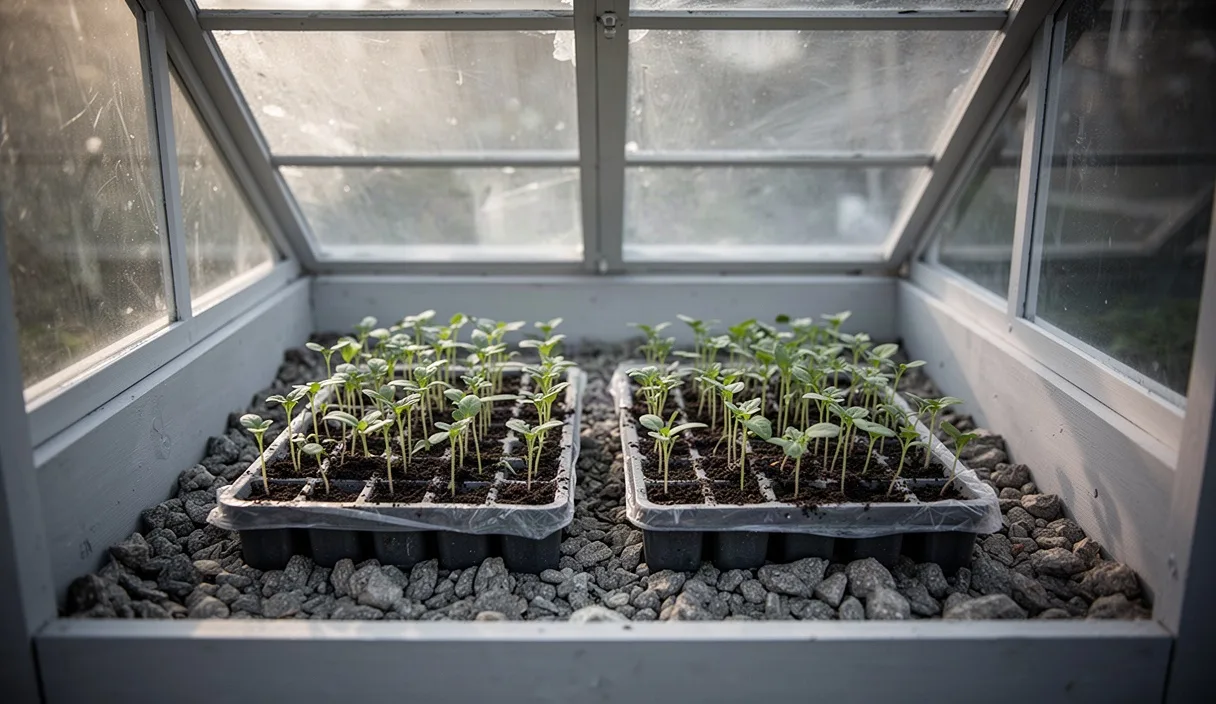
Tomato seeds wake in darkness. Warmth and moisture crack the seed coat within five to eight days. Below the surface, tender white roots push downward. A pale green loop rises toward the air. In a healthy tray, the stem straightens and lifts two narrow seed leaves toward the light. The hypocotyl stands upright, firm and dry.
Fungal organisms share this moist growing environment. They wait in old trays, dusty potting benches, and wet media. When conditions stay cold and saturated, these pathogens attack the fragile stem tissues. The stem collapses at the soil line within hours. Seedlings topple in small clusters across the cell flat. Once damping off takes hold in a cell, no remedy can restore the damaged plant. Prevention is the single reliable path to healthy tomato starts.
Identifying early damping off symptoms
Damping off appears in two distinct stages. The first stage occurs before the seedling breaks through the soil surface. Gardeners call this pre-emergence damping off. The seed swells, softens, and rots before the shoot emerges. Often, the grower assumes the seed lot was nonviable. In reality, soil fungi penetrate the seed coat as soon as it takes in water.
The second stage is post-emergence damping off. This stage is visible and rapid. A seedling looks upright in the morning. By afternoon, the base of the stem looks dark, water-soaked, and thin. The tissue pinches down to a brown, thread-like filament. The upper leaves remain green, but the structural base cannot support their weight. The seedling falls flat against the potting media.
Different soil-borne organisms produce slightly different visual cues. Recognizing the pattern helps you adjust the nursery environment for future seed flats.
| Pathogen | Primary Target | Visible Signs | Favorable Conditions |
|---|---|---|---|
| Pythium species | Root tips and lower stem | Water-soaked lesions, black slimy roots | Saturated soil, temperatures below 65 degrees Fahrenheit |
| Rhizoctonia solani | Hypocotyl at soil line | Dry, reddish-brown sunken lesions, wire-stem look | Moderate moisture, temperatures between 68 and 75 degrees Fahrenheit |
| Fusarium species | Vascular system | Yellowing leaves, sudden wilt, dark interior stem | Warm soil, compact media with poor aeration |
Physical wilting from underwatering looks different. An underwatered seedling turns dull green, softens along the entire stem, and recovers after watering. A seedling with damping off remains crisp in the upper leaves while the base disintegrates. Adding water to a flat infected with damping off accelerates the destruction. If the stem pinches at the soil level, the root network is already dead.
Sanitizing trays and potting tools
Pathogen spores survive dry conditions on hard plastic surfaces. Trays, cell inserts, plant markers, and humidity domes carry spores from previous seasons. Dust settled on storage shelves also introduces microscopic fungi. Reusing plastic containers without a wash routine invites immediate trouble.
Begin by brushing off all dry soil and root remnants. Rinse the containers with warm water to remove grease and stubborn grime. Sanitizing solutions cannot penetrate thick layers of dried potting soil. Once the surfaces look clean, submerge the gear in an active disinfectant.
- Mix one part standard household liquid bleach with nine parts cool tap water.
- Place trays, cell packs, and dibbers into the mixture.
- Keep all plastic completely submerged for ten minutes.
- Remove the items and rinse them under fresh running water.
- Allow the containers to air dry fully in a clean, ventilated room.
Bleach breaks down thin plastics over time. If you prefer a gentler method, use a solution of 70 percent isopropyl alcohol. Wipe plant labels, scissors, and trowels with a clean rag saturated in alcohol. You can also use a three percent hydrogen peroxide soak for twenty minutes. Never skip the drying phase. Sunlight helps dry the equipment and adds natural ultraviolet exposure.
Selecting sterile seed starting media
Garden topsoil does not belong in seedling trays. Outdoor soil contains native fungi, weed seeds, bacteria, and insect eggs. It also packs down tightly inside small cells, which forces air out and traps excessive moisture. Tender tomato roots need tiny pockets of oxygen to respirate and absorb nutrients.
Sterile soilless mixes provide a safe, lightweight medium for germination. These blends contain no natural earth. They rely on inert components that hold moisture while allowing surplus water to run out the drainage holes. The absence of organic garden compost reduces the initial fungal load to almost zero.
- Milled sphagnum peat moss: Holds water evenly and creates an acidic environment that deters some bacterial growth.
- Coconut coir: Provides a sustainable alternative to peat, re-wets quickly, and maintains an open texture.
- Perlite: Expands volcanic glass that creates large pore spaces for drainage and root oxygenation.
- Vermiculite: Holds moisture and minerals near the seed zone without compacting under overhead misting.
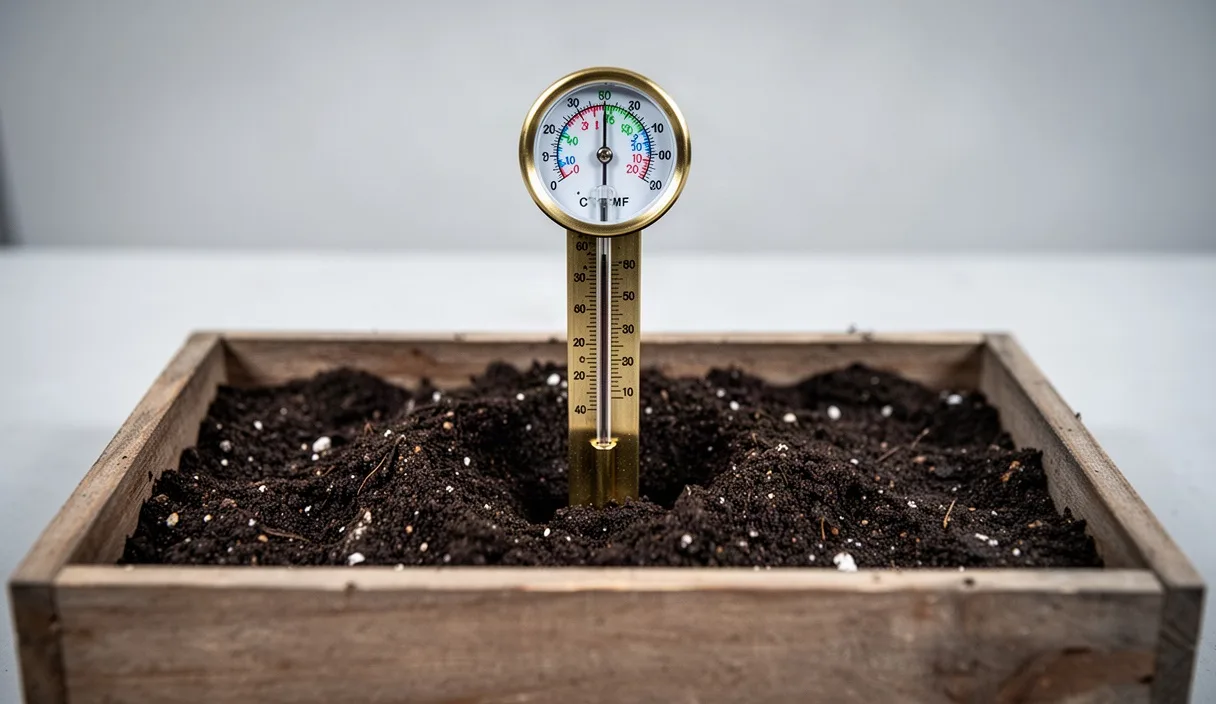
You can heat questionable media at home if commercial sterile mix is unavailable. Place moist soil into an oven-safe roasting pan. Cover the pan securely with aluminum foil. Insert a meat thermometer into the middle of the soil mass. Bake the soil at 180 degrees Fahrenheit for thirty minutes. Keep the temperature below 200 degrees Fahrenheit to prevent the release of plant-toxic chemical compounds. Let the media cool to room temperature before filling your cell flats.
Watering flats from below
Direct top-watering creates dangerous conditions for young tomato starts. Water drops compact the surface of the soil mix, sealing the pore spaces. Surface moisture feeds fungal colonies directly where the stem meets the air. Splashes can also lift fungal spores from the soil onto the tender cotyledons.
Bottom-watering draws water upward by capillary action. The soil at the bottom of the cell drinks the liquid first. Moisture moves toward the surface gradually. The surface layer remains dry and aerated, which deprives spores of the free water they need to germinate.
- Set your cell flats into a standard solid nursery tray that has no drainage holes.
- Pour lukewarm water into the solid tray, filling it to a depth of roughly one-half inch.
- Let the flats sit in the water reservoir for twenty to thirty minutes.
- Check the soil surface. When the surface turns dark and moist to the touch, the soil column is saturated.
- Lift the cell flat out of the solid tray and let all excess water drain away completely.
- Empty any standing liquid out of the bottom tray before returning the cell flat to its place.
Gauge the hydration of your seedlings by lifting the tray. Dry flats feel very light. A fully hydrated flat has substantial weight. Water only when the flat feels light in hand and the top five millimeters of the mix looks dusty. Cold well water shocks root systems and slows root growth. Use water that rests at room temperature, ideally between 68 and 72 degrees Fahrenheit.
Setting up gentle fan ventilation
Still air breeds fungus. In a sealed indoor space, water evaporates from the soil and creates a microclimate of high relative humidity directly above the cell surface. This humid pocket lingers around the hypocotyl, keeping the outer stem skin soft and vulnerable to hyphal penetration.
Gentle airflow breaks this microclimate. An electric fan disperses humid pockets and lowers the moisture level of the top layer of soil. The surface dries out rapidly, while the deeper root area stays moist. This dry crust forms a physical barrier that stops spores from moving through the soil line.
Mount a small oscillating fan three to four feet away from your seedling bench. Set the speed to the lowest setting. The airflow should cause the tomato sprouts to quiver slightly. The stems should never bend over or whip back and forth under high wind pressure. Run the fan on a mechanical timer for twelve to fourteen hours per day, matching the schedule of your grow lights.
Moving air offers a second developmental advantage. The physical movement triggers thigmomorphogenesis, a biological response in the plant. The seedling releases tiny amounts of ethylene, which signals the cells in the stem to widen rather than stretch. The hypocotyl grows thick, stocky, and woody. A sturdy, fibrous stem resists fungal invasion far better than a pale, leggy sprout grown in quiet air.
Thinning crowded sprouts
Gardeners often drop three or four seeds into a single cell to ensure germination. When multiple seeds sprout, the seedlings compete for resources. Their leaves touch and overlap, forming a dense canopy over the potting mix. This canopy blocks light, slows evaporation, and traps moist air around the stems.
Crowded seedlings stretch quickly toward the light. The stems grow long, pale, and weak. The cellular walls stay thin and watery, providing an open door for Pythium and Rhizoctonia. Thinning opens the canopy, lets light hit the soil, and allows air to move freely around every individual stem.
Thin your tomato starts as soon as the cotyledons unfold completely. Look for the strongest seedling in each cell. Choose the plant with the thickest stem, the darkest green color, and the shortest habit. Eliminate all other seedlings in that cell.
Never pull unwanted seedlings out of the soil by hand. Pulling tears the delicate lateral roots of the seedling you plan to keep. These root breaks leak sap into the media, which attracts fungal pathogens directly to the surviving plant. Instead, take a clean pair of small embroidery scissors or micro-tip pruning snips. Cut the unwanted stems off cleanly right at the soil level. The severed root systems break down naturally without harming the neighbor.
Common mistakes
Small errors in the nursery environment often compound, creating conditions that welcome fungal growth. Avoiding these frequent missteps protects your investment in seed starting.
- Leaving humidity domes on too long: Clear plastic covers belong on trays only until seeds germinate. Remove the cover the moment the first green loops break the surface. Leaving covers in place creates saturated, stale air.
- Overfeeding tiny seedlings: Cotyledons contain all the food a tomato needs for its first days. Adding liquid fertilizer too early burns fragile root hairs and feeds algae and fungi on the surface of the soil. Wait until the plant grows two sets of true leaves.
- Using cold water: Water below 60 degrees Fahrenheit chills the soil. Tomato roots stop growing in cold media. Pathogens continue to thrive, attacking the inactive roots.
- Letting flats stand in runoff: Leaving cell trays in standing water keeps soil pores filled with liquid. The roots suffocate from lack of oxygen within forty-eight hours, making them easy targets for rot.
- Crowding flats together: Packing trays wall-to-wall stops horizontal airflow. Leave two to three inches of open space between cell flats on your shelves.
Practical next steps
Preparation is the real support damping off. Gather your tools several days before you intend to sow your tomato seeds. Inspect your seed starting flats for cracks where old soil hides. Clean every container with disinfectant, and set your materials out to dry completely.
Check your bag of seed starting mix. If the bag was stored outdoors or left open to the elements, replace it with fresh, sealed soilless media. Test your heating mats with a soil thermometer to ensure they maintain steady temperatures between 70 and 75 degrees Fahrenheit. Set your grow lights so they sit two to three inches above the future tray level.
Mount your oscillating fan and verify that its timer operates on schedule. Fill a basin with room-temperature water so it is ready for your first bottom-watering session. If your seedlings continue to collapse despite clean methods, take a sample of the media and affected plants to a local university extension office. Extension agents can run laboratory cultures to pinpoint specific pathogens in your water source or facility.
This journal provides educational content only; consult your regional agricultural extension office for local planting dates and soil pathology. Disclaimer